My daughter saw some 3D printouts at a little shop by us. She mentioned they have have a 3D printer at school and she really liked it. Of course that ended with “Dad, can I have a 3D printer”. To which I replied “Hannah, it’s really complicated and expensive”. Later on I started to look around and sort through all the different manufacturers, prices, types and what not. This was totally new to me. I kept coming back to Printrbot printers because it seemed that there was a lot of success, options and discussions for them.
Let me first say that price is an issue for me. I’m not going to invest a lot of money in a new thing and an unknown. So the Simple and Simple Metal printers were on the list because of their price. I’m geeky and when I saw that these came in Kit form and I could build them from scratch, I was hooked. Purely on a price choice, I decided on the Printrbot Simple Kit (1405 rev F). Here is what arrived:
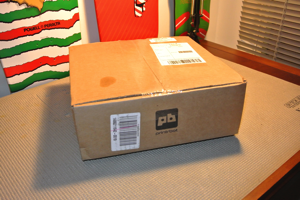
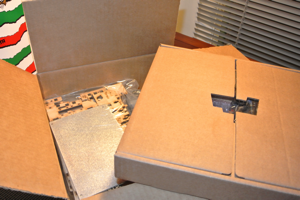
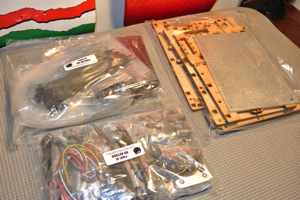
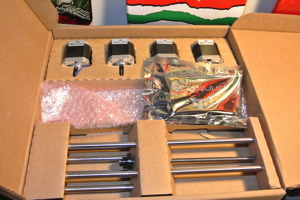
When they said it was a kit, they meant it! This is latest revision and to be honest I was quite surprised at how small it was. They have made the frame extremely affordable but provide great motors, an Extruder and circuitry. But listen, if you are not comfortable with reading a lot of directions, don’t buy the kit, buy the pre-built one. If I’m given clear instructions and good product I do fine. This is not an easy build, but it’s a solid medium skill build. You have to follow directions! Because of how small it is, small mistakes with doom you. For example, when they show you how to put on a zip tie and tell you to put the lumpy end in a certain position, you have to do it or something else won’t fit in a few steps further.
This project took me about 4-6 hours to complete. I took my time and took breaks away from it. I checked, re-checked and then checked again. I had a printout of the instructions and I had online versions so I could zoom in on the pics to see the parts in detail. This is laser cut wood but at a couple of points I had to gently nudge (small hammer) so pieces into place. Be careful, you can break this wood very easily.
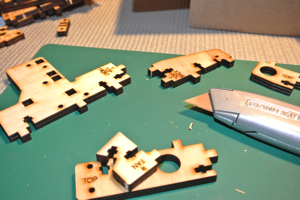
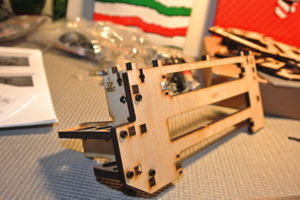
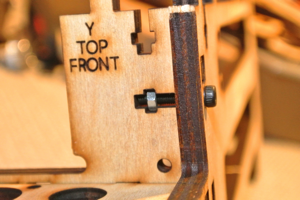
You can see in the above pictures the puzzle-piece looking wood parts that make up the frame. The literally are put together like a puzzle with a couple of screws and hex nuts. You can also see the bearings being held in place by zip ties. I know it seems weird but it works great. In the end this really is great hobbiest looking printer that works really well.
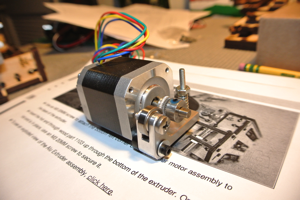
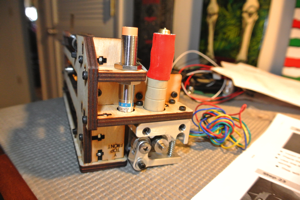
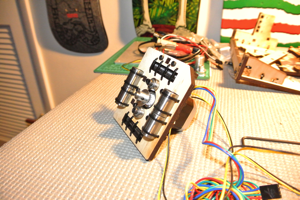
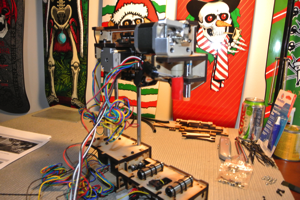
Above is one of the four motors that comes with the printer. Three motors control the X, Y and Z axis movements. The fourth motor controls the Extruder. In the picture on the right you can see the red socked extruder with the filament feeder below it. That is actually upside down right now.
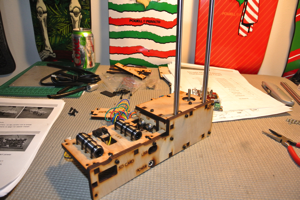
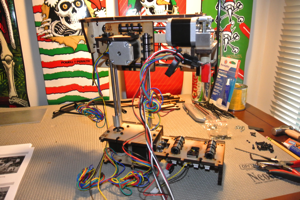
Above you can see the base of the unit with the guide rods sticking up. Those bearings on the base will have the guide rods of the printing plate going through them so it can move left to right along the X axis. The 2nd photo is the printing unit and Z axis controls mounted onto the vertical guide rods. Look at that mess of wires!
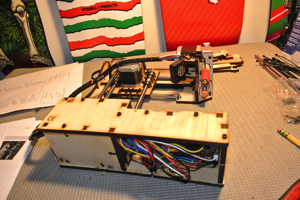
You can still see all the wires but in the 2nd picture they have been bounded up and are now running into the back of the base. It is really tight with all the wires in the base.
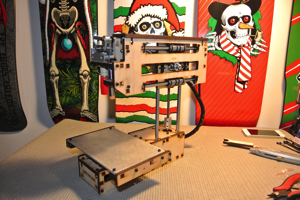
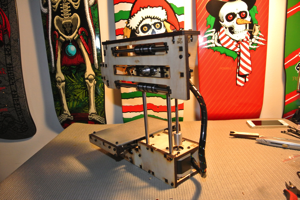
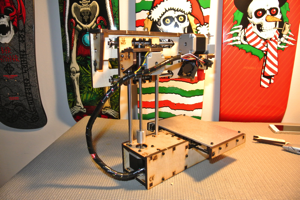
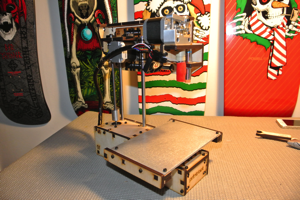
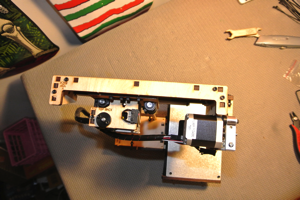
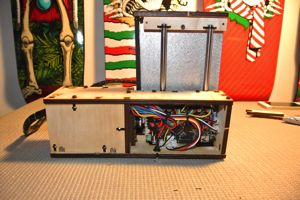
The above six photos is the Printrbot Simple Kit all complete. I’m really impressed how this all came together and even more curious on how it would work. I setup Cura as printing software on a Mac and followed the setup and leveling instructions. On a great note, my leveling came out perfect on the first try and I was able to build the basic square block. I followed it up with printing out the fan shroud for this unit as well.
Now as I said in the beginning, I’m a geek so I’m going all out with this thing. Here is what else I have done and what is next:
1. Setup a Raspberry Pi computer with OctoPrint (OctoPi) so I can upload jobs to it and have it control the printer.
2. Configured the Raspberry Pi camera so I can watch the printer remotely. I even printed out a Raspberry Pi Camera mount and mounted the camera to the printer.
3. I just ordered the $30 heated bed upgrade for this. Hate using printer tape, wanna try this out. Also ordered a ATX power supply for this and the Printrbot Metal Spool and Power Supply stand.
4. Time to start drawing and printing with my daughter!!!


