Introduction
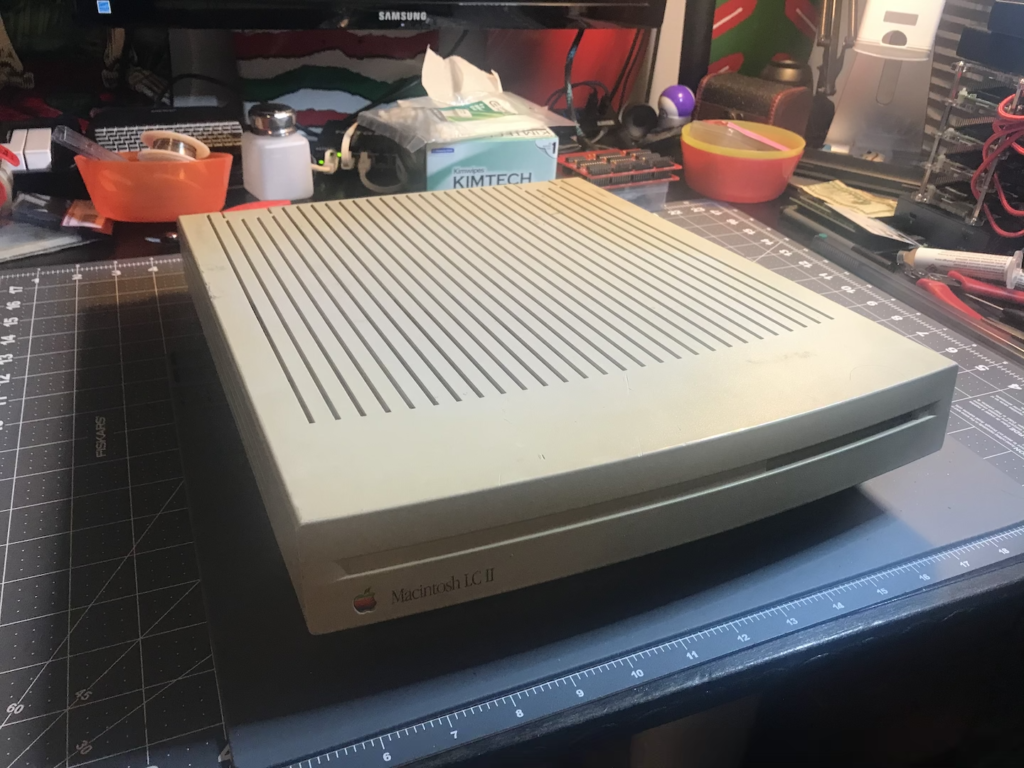
I have modern (OS X) and classic macintosh computers I work with. Boot strapping an older machine can be difficult and I want a cheap/effective solution to make this work. I found a page from Michael Arnold that talked about setting up a Raspberry Pi as AFP Server for older machines. Meaning I could:
- Download images/files from the Internet on my modern mac,
- Copy those files to the Raspberry Pi
- Have the Raspberry Pi serve those files to the older Macs via AFP
This works for older Macs that have Ethernet capabilities but it leaves the oldest AppleTalk based Macs out. I’ve been working on that solution and I’m going to get an older Mac that has both Ethernet and AppleTalk and set it up as an Apple Gateway which will bridge the LocalTalk network to the Ethernet network. But that’s a post for another time.
What is needed
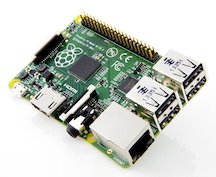
- Raspberry Pi (I used an older one I have, model B)
- CAT 5 Cable to wire the Pi onto the network
- 32GB, 64GB if you can, SD Card
- Raspbian Jesse Lite – Use this:
- Netatalk 2.1.6 – I’ll provide a link to the correct one in my instructions below
Preparation
You need to know how to work with Linux and a Raspberry Pi. Here are the high-level tasks:
- Download Raspbian Jesse (use link above) to you computer.
- Burn the image to the SD card using something like Etcher.
- Boot the Raspberry Pi with the SD Card
- Configure the Raspberry Pi for your environment:
- Locale / Keyboard
- Network setup
- SSH Access
- Hostname
- Modify password for the (pi / raspberry) account
- Verify you can access it via SSH and sudo to root
- As root, do an “apt-get update” to bring it up to date
Raspberry Instructions
Login to your Raspberry Pi and change over to root:
sudo su -
Change to the TMP directory as you work spot:
cd /tmp
Create the directory that will be your shared folder:
mkdir -p /mnt/apple
Chown the directory so your ‘pi’ account owns it:
chown pi:pi /mnt/apple
Get packages required for Netatalk:
apt-get install libavahi-client-dev libcups2-dev libdb-dev libssl-dev libacl1-dev libopenafs-dev gawk libltdl-dev libltdl7 autoconf libgcrypt20-dev libgcrypt20 cracklib-runtime libpam-cracklib lsof procps rc quota texinfo coreutils cdbs autotools-dev devscripts debhelper dh-buildinfo libwrap0-dev libpam0g-dev libkrb5-dev libltdl3-dev libgcrypt11-dev libcrack2-dev libldap2-dev d-shlibs
Download the Netatalk package that is configured for AFP:
wget https://www.carlosrandolph.com/downloads/netatalk-2.1.6.tar.gz
Unpackage the Netatalk package:
tar -zxvf netatalk-2.1.6.tar.gz
Change into the directory for netatalk:
cd netatalk-2.1.6
Configure the Netatalk package for compilation:
./configure --enable-debian --sysconfdir=/etc --with-uams-path=/usr/lib/netatalk --with-ssl-dir=/usr/lib/ --disable-cups
Compile Netatalk:
make
Install Netatalk:
make install
Configure Netatalk for use:
- /etc/default/netatalk
- /etc/netatalk/AppleVolumes.default
- change the last line with the ‘~’ at the end to:
/mnt/apple "Apple Share" volsizelimit:2000
- /etc/netatalk/afpd.conf
- add the following line to the bottom of file:
-
-transall -uamlist uams_clrtxt.so,uams_dhx.so,uams_dhx2.so
- /etc/netatalk/atalkd.conf
- add the following line to the bottom of file:
eth0 -phase 2 -net 0-65534 -addr 65280.163
- NOTE: this assumes you network card is “eth0”, change it if needed
Set the Netatalk to start automatically:
update-rc.d netatalk defaults
Start the Netatalk service (one time):
/etc/init.d/netatalk start
Wrap-up
If the above was done right then you should be able to see the network share on you Macintosh. Make sure AppleTalk is enabled and operating on your Ethernet card. If you then go the Chooser, you should be able to click on AppleShare and see it. You should be able to login with the ‘pi’ credentials to access it.
I did not use ‘pi’ as my credentials. I create my own account with my normal OS X Login id. You can add your own credentials on the Raspberry Pi and use that. Just make sure that ID has access to the directory created for the share.


